


Description
*****BRASS INSERTS*****
OUT OF STOCK – 50gr Brass Inserts ALL SPINES
NOW in Stock 900 & 1000 Spine
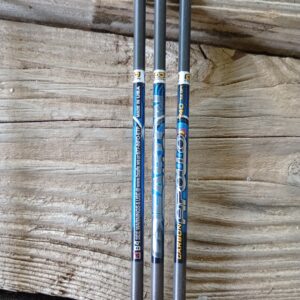
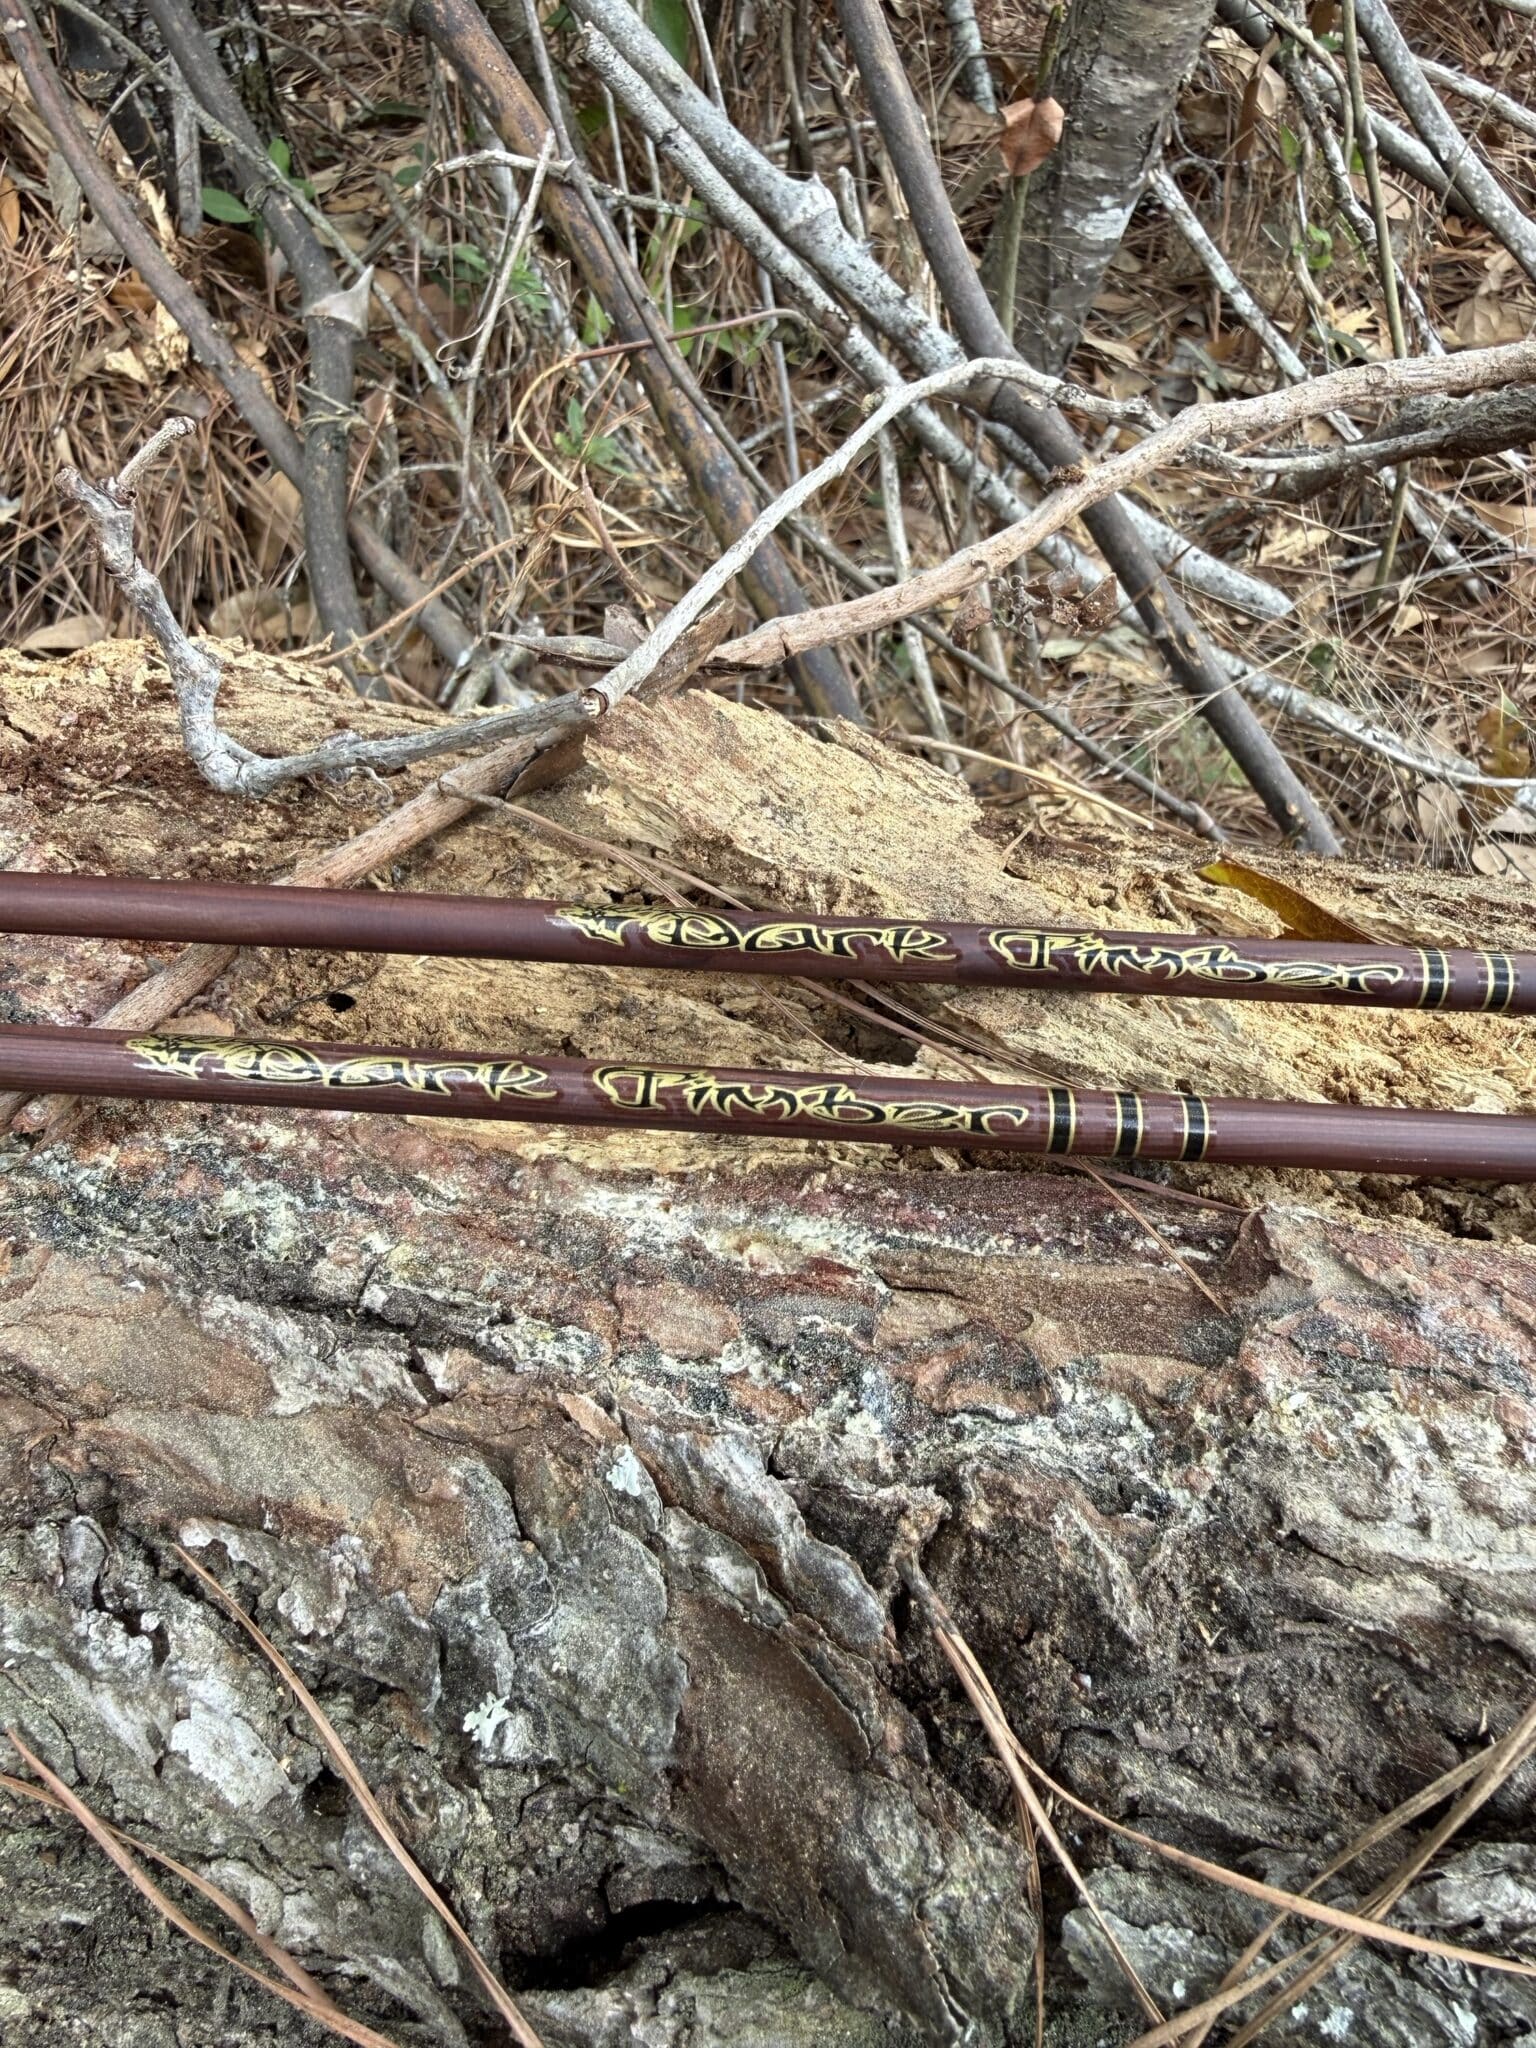
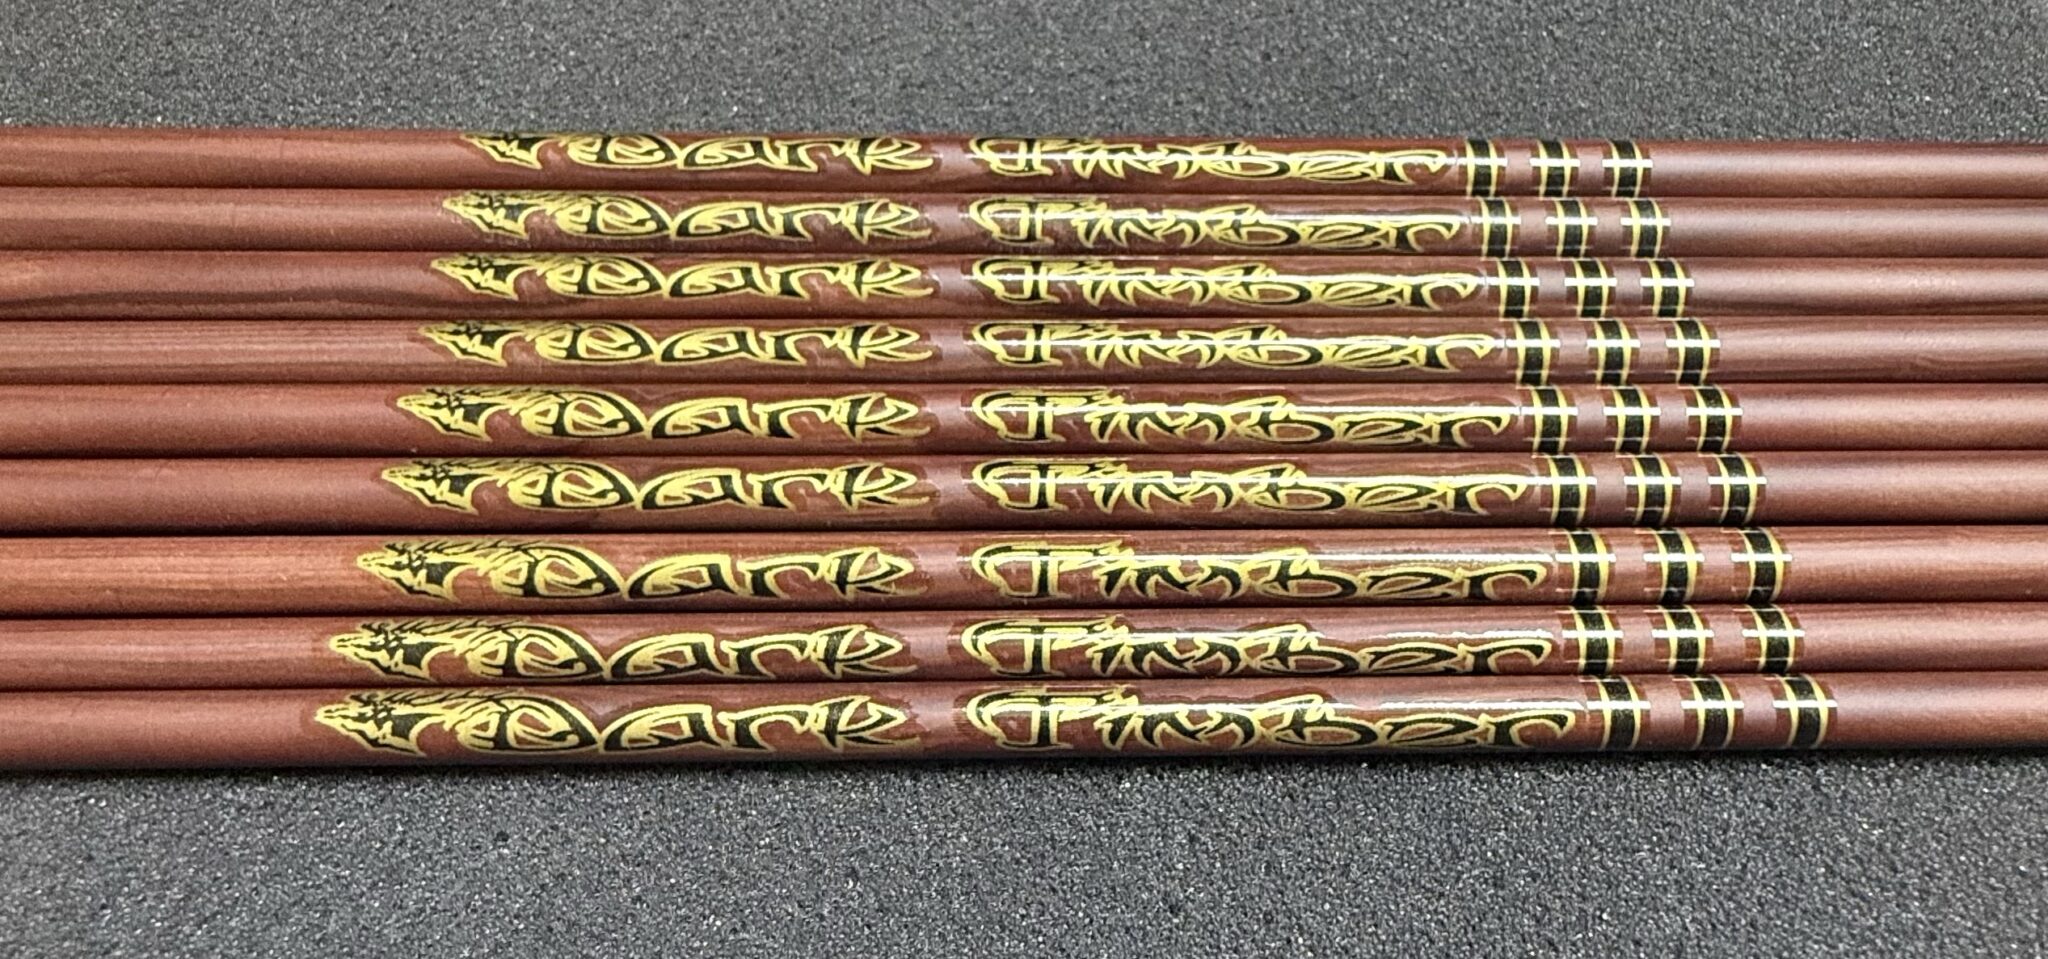
Dark Timber Shafts
****Long Awaited, Never Duplicated!!!
Introducing the ALL NEW Dark Timber Shafts by Big Jim’s.
“Big Jim’s Dark Timber Arrows are awesome and worth every penny!!!”
All Dark Timber Shafts are 32 7/8″ Full Length (with Nock): Order Yours Cut to Your Specifications!
“Great looking, straight shooting, and hard hitting for an indisputable price!” – Big Jim
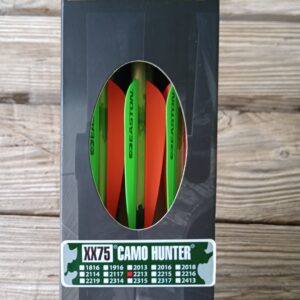
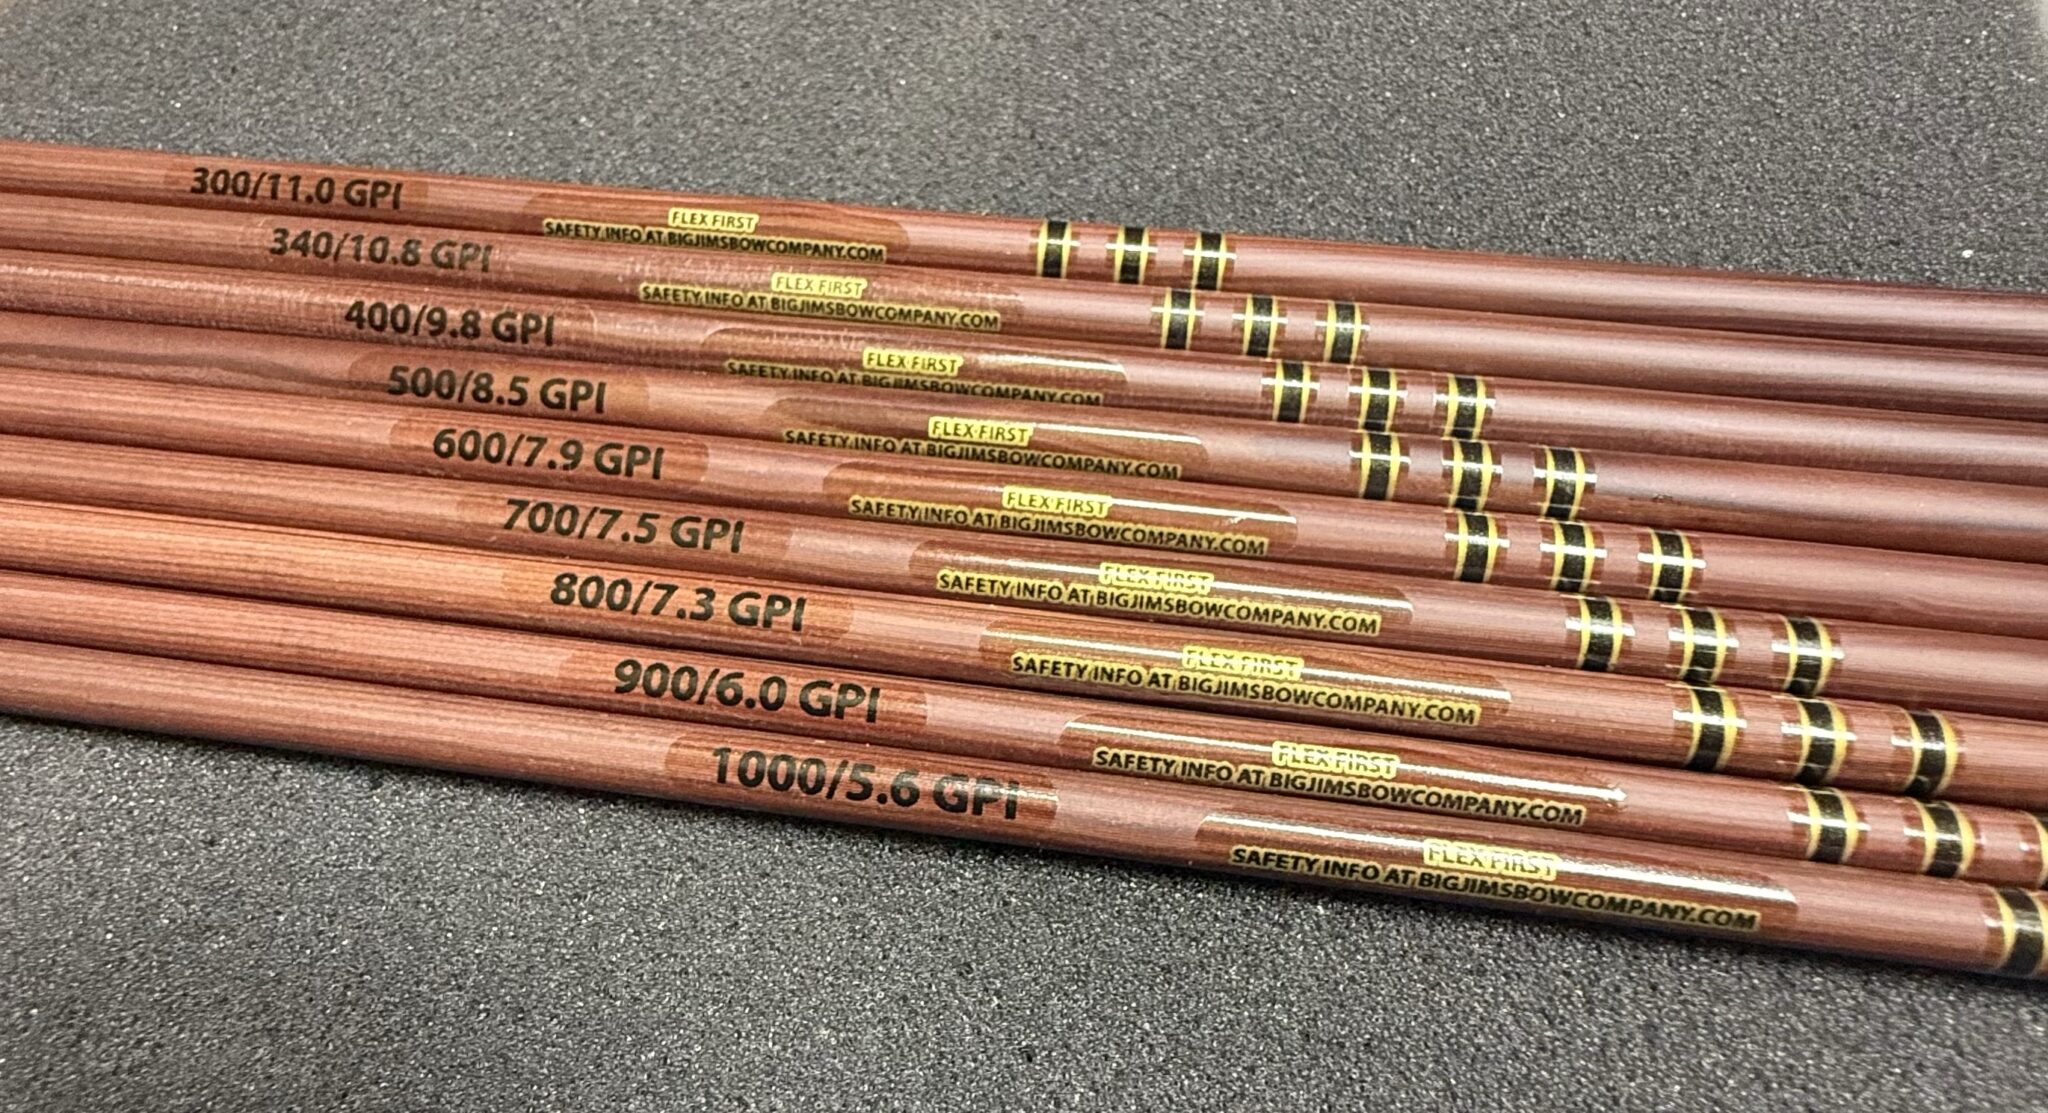
Spine: O.D. I.D. GPI
300 .2963 0.244 11.0
400 .2963 0.244 9.8
500 .2923 0.244 8.6
600 .2886 0.244 7.9
700 .2785 0.234 7.5
800 .2766 0.234 7.3
900 6.0
1000 5.6
Straightness: ± .006 or better″
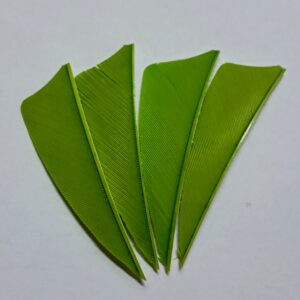
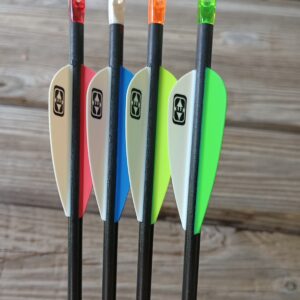
- Dark Timber Nocks
- Aluminum Inserts – included
- Insert are threaded to accept screw in points, broadheads, etc.
Rev.06/26/2023
INSERTS: Upgrade to brass inserts; 50 or 100 grain for 300, 340, 400, 500,600 ONLY
***NOTE : Brass Inserts ARE NOT Available for 700-1000 Spine***
ONCE SHAFTS ARE CUT THEY CAN NOT BE RETURNED UNDER ANY CIRCUMSTANCE.
ARROW SAFETY
WARNING – Follow suggested instructions to avoid personal injury. SEE warnings and call Our Headquarters for any questions. (229) 420-5669.
ARROW SHAFT BREAKAGE
All arrows can become damaged. Shafts that have been damaged can break upon release, potentially injuring bystanders and the archer themselves. Any damage to an arrow shaft, or any of its components, may occur from: improper handling, transport, or use; impacts with objects or cross cut shooting, and from other arrows; or, also field use in situations such as missing game animals. No list can cover all possible scenarios, conditions, and or situations that may cause damage. Use of good judgment and common sense, as well as follow the warnings and instructions below, to determine if your arrow has been damaged in any way.
NEVER! WE REPEAT! NEVER SHOOT A DAMAGED ARROW!!!
FIRST FLEX YOUR ARROW PRIOR TO SHOOTING!!!
USE PRECAUTIONS
Before each shot (including the first shot of a new arrow) carefully inspect each arrow shaft, nock, and other components to see that they have not been damaged. Before shooting, place the arrow between your thumb and fingers, and using your other hand to slowly rotate the shaft, run your fingertips along the entire arrow length, feeling and looking closely for nicks, cracks, splits, dents, or other marks that could indicate the shaft has been damaged. If your arrow is crested, inspect for damage on the crest surface. You may need to remove the cresting to make a thorough inspection. If shaft damage is present, DISCARD THE ARROW. WARNING! NEVER SHOOT A DAMAGED ARROW, WE REPEAT NEVER SHOOT A DAMAGED ARROW.
Before each shot, inspect the nock for damage. If the nock is damaged, replace the nock. WARNING!
NEVER! WE REPEAT, NEVER SHOOT AN ARROW WITH A DAMAGED NOCK.
Before each shot, check that the nock is fully seated, and fits tightly on the shaft. Apply twisting pressure to see if the nock turns easily. If the nock has backed out of the arrow or the fit is loose (rotates easily), inspect further for cracks in the nock end of the arrow shaft. If cresting is present, you may have to remove cresting to see if there is visible damage. If cracks are present, nock is loose, or appears to be damaged in any way – DISCARD THE ARROW. WARNING! NEVER SHOOT A DAMAGED ARROW.
ADDITIONAL TEST FOR CARBON ARROWS
When checking carbon arrows, perform the following additional test: Grasp the shaft just above the point and below the nock, then flex the arrow in an arc (bending it away from you and others) with a deflection of 1 to 2 inches (2.5 to 5 cm), and feel and listen for cracking, Perform this test four to six times, rotating the arrow slightly between each flex until you have gone around the entire arrow. If you hear or feel cracking, the carbon has been damaged, DISCARD THE ARROW! WARNING! NEVER SHOOT A DAMAGED ARROW.
While still holding the point and the fletching ends, twist the shaft in opposite directions. If the arrow “relaxes” or twists easily, the carbon has been damaged. DISCARD THE ARROW.
NEVER SHOOT A DAMAGED ARROW.
A damaged arrow could break upon release and injure you or a bystander. If you have any reason to believe that an arrow has been damaged, DISCARD THE ARROW.
WARNING! NEVER SHOOT A DAMAGED ARROW.
If you do not understand these instructions, or cannot adequately perform the above tests, seek the appropriate assistance.
CUTTING FOR ALL SHAFT TYPES
- Cut shaft to length using only a high-speed abrasive wheel cut-off tool designated for arrow shafts.
- Never use rotary tube cutters, a hacksaw or methods that can damage the tube and leave a rough cut.
- After cutting lightly chamfer the inside of the shaft, just enough to remove any burrs.
- Thoroughly clean the inside of the shaft with a cotton swab wetted with 91% to 99% isopropyl
alcohol (not rubbing alcohol, which can contain oil). Always wear a NIOSH approved dust mask and safety glasses when cutting any arrow shafts. Be sure to use a dust collector to vacuum up all of the carbon dust when cutting arrow shafts.
CARBON SHAFT POINT AND INSERT INSTALLATION INSTRUCTIONS
1. Do not apply heat directly to the shaft. Install a RPS point into the insert prior to installation for
ease of handling.
2. WARNING: DO NOT HEAT SHAFT. HEATING SHAFT WILL VOID WARRANTY.
3. Apply a film of adhesive completely around the entire shank of the point or insert. Do all of the
inserts first for ease of installation.
4. Reheat the insert for no more than 5 seconds to fully melt the adhesive.
5. Without delay, slowly push the insert into the shaft until it seats against the end of the shaft. Rotate
insert 1 to 2 revolutions while still warm. DO NOT FORCE A COMPONENT INTO THE SHAFT.
Apply a little more heat to the POINT ONLY (not the insert) if the insert hangs up during this step.
6. Immediately, while adhesive is soft, wipe off any excess adhesive with a cloth or paper towel. Allow
air-cooling in a point-down position.
EPOXY INSTALLATION OF COMPONENTS
AAE brand epoxy or 3M DP390 24-hour cure flexible two-part epoxies are recommended.
1. Apply a generous coating on the entire shank of the insert.
2. Slowly twist the point or insert into shaft and seat it against end of shaft.
3. Wipe off any excess adhesive with a cloth or paper towel.
4. Stand the shaft vertically on the point or insert to cure. Be sure epoxy does not flow into insert
threads.
5. This a permanent installation. The insert cannot be removed without damage to the shaft.
LIMITED WARRANTY
The Dark Timber arrow shaft limited warranty covers any defects in material and/or workmanship
for six months from date of purchase. It does not cover damage caused by impact from another
arrow, impact with hard objects, improper cleaning or fletching, or from normal wear. Warranty does
not apply if damage results from any non-compliance with printed instructions. Arrow shafts that are
defective will be replaced by Big Jim’s Bow Company.
WARNING: Cancer and Reproductive Harm – www.P65Warnings.ca.gov
WARNING: Products in these contain chemicals known to the State of California to cause cancer,
birth defects or other reproductive harm.
DARK TIMBER SHAFTS
Price range: $45.99 through $89.99